Adding a data disk to my windows VM

I am a Cloud Engineer with a strong foundation in multi-cloud environments, specializing in AWS and Azure with hands-on experience in Google Cloud Platform (GCP). Skilled in architecting and optimizing secure, scalable cloud infrastructures, I bring a robust background in Cisco networking to enhance connectivity and reliability. Passionate about leveraging cloud technologies to solve complex challenges, streamline operations, and drive innovation.
A virtual machine (VM) can store data on a data disk, which is a block storage device. It is distinct from the VM's operating system disk, which houses the operating system and system files for the virtual machine.
You might want to use a data drive in a Microsoft Azure VM for Windows for several reasons:
To keep a lot of information Data disks are a useful choice for storing large volumes of data, such as media files, databases, or backups, because they can be much larger than the operating system disk. to boost efficiency. You can choose the performance level that best suits your needs because data drives can be configured with several performance levels. As an illustration, if you are running a database application, increase accessibility. Data disks can be set up for redundancy, which will protect your data in the event of a disk failure. separating data. For various users or applications, you can make unique data drives, which can help isolate data and increase security.
To add a data disk to a Microsoft Azure VM for Windows, you can use the Azure portal, the Azure CLI, or the Azure PowerShell cmdlets.
Here are the steps to add a data disk to a Microsoft Azure VM for Windows using the Azure portal:
The first thing is to Sign in to the Azure portal.
Click on the blade of the Virtual machine. As shown in the diagram below, in my case, I am using a Windows virtual machine. For information on how to install a Windows virtual machine, click my other blog

Select the Windows VM that you want to add the data disk to, as shown in the diagram below.

Click on the Disks tab, as shown in the diagram below.

Click on Create and attach a new disk under Data disks, as shown in the diagram below and highlighted.

Here I specified the disk size as 10GB since I am just testing, named it reggiedisk, and then saved it as shown in the diagram below.

Note: The virtual machine doesn't have to be shut down to add a Data disk.
RDP into the virtual machine, in my case, windowsvm1, and type diskmgmt in the search bar, as shown in the diagram below.

It will bring out the disk management, and then you click OK as shown in the diagram below.

Then the disk shows up as unallocated, as shown in the diagram below.

Then you right-click on Disk 2, which is showing unallocated, and select Simple Volume.

This will start the New Simple Volume Wizard as you click Next.

You can select Next and leave it at default or partition the drive at this stage; in my case, I left it at default as I needed the whole space.

Then you assign it a drive letter, as shown in the diagram below, and then select Next. I assigned it the letter B.

Here we format the drive with NTFS for Windows, As this is a Windows machine, I left it at its default and clicked next.

Click on finish, as shown in the diagram below.

As we can see in the diagram below, the drive is healthy.

The finished product is highlighted in the diagram below.

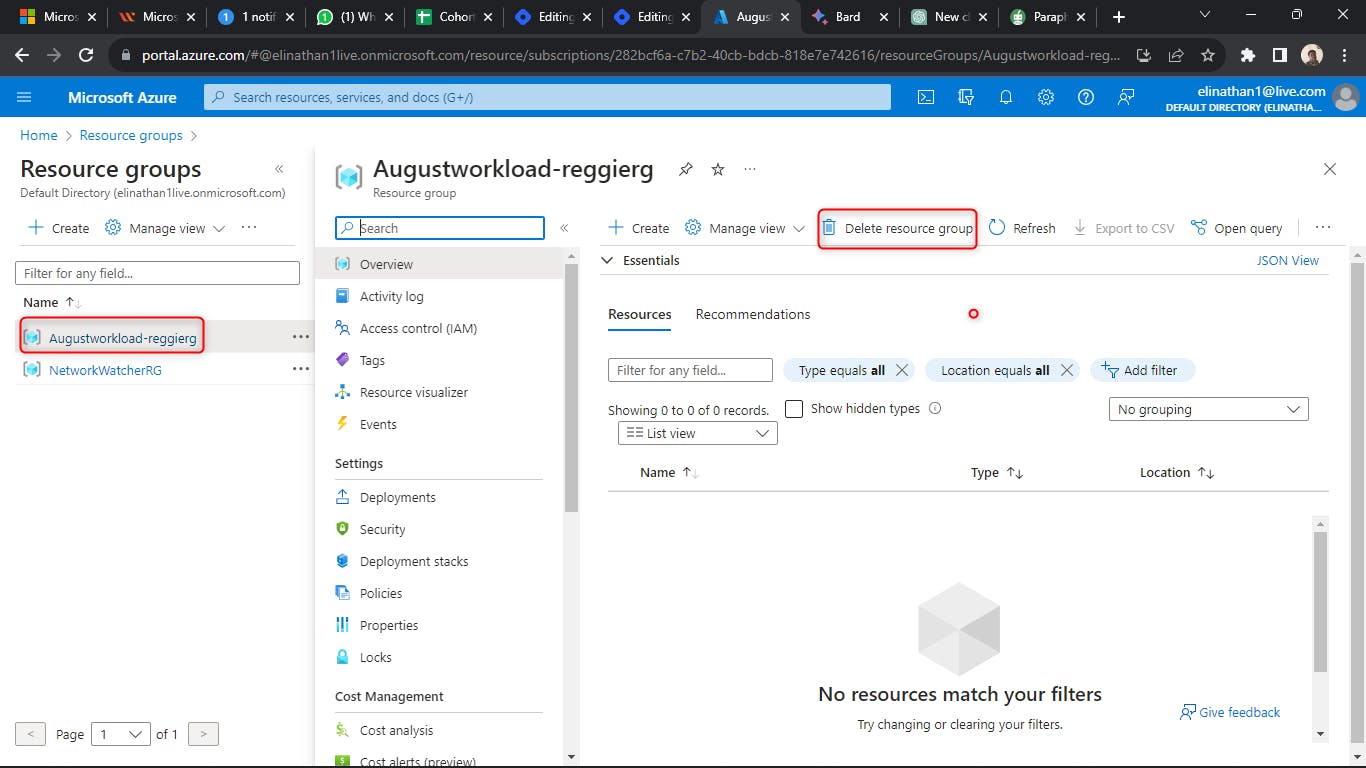
Please make sure to delete your resources when you are done, as the cloud is not free.

I hope this helps! If it does, please leave a like and share your thanks.


